Showing posts with label Handmade. Show all posts

Friday, July 19, 2013

Create Something Pin-Worthy Today


Yep, I've posted this before, but I really needed the reminder today...perhaps it nudges your heart too...?

You are uniquely equipped by God to do amazing things...things only you can do, just the way you do them! It could be the special, ingenious way you set up a spreadsheet, or your amazing knack for coloring hair, or the way you make eating sandwiches with your kids seem like an adventure...whatever it is, do it to God's glory! This world needs you to be the awesome person you were created to be, and do the awesome things you were Hand-crafted by God to do...

And hey, if it's something that you can pin on Pinterest, go for it! I'd love to repin it!!  :o)

Here's a little sneak peek at what's on my work table today...


I'll be showing you soon what I'm going to do with all this sunny retro goodness...maybe it'll even be pin-worthy...?

Have a great Friday and a fantastic, creative weekend!!

Hugs one and all!!

Sunday, August 12, 2012

Our Cottage Coffee Bar


9/28/13 Edited to add:  I saw that Donna of Funky Junk Interiors was hosting a link party featuring Creative DIY Coffee Stations, so I immediately knew I wanted to feature our fun coffee station that we put together from vintage finds and junk - so, even though this post originally posted about a year ago, I thought it was worth revisiting...enjoy!  Here's the link to the party so you can see a lot of other inspiring coffee stations as well as a host of other creative ideas:  http://www.funkyjunkinteriors.net/2013/09/party-junk-206-creative-diy-coffee-stations.html

---ORIGINAL POST BELOW---

It's hard to believe it's been almost a month since my last post - wow! The day I posted all the photos of my studio for Where Bloggers Create 2012 was also the day we left for a week long trip to Orlando to attend the International Christian Retail Show and meet with gift manufacturers about licensing my art. It's been a bit of a whirlwind around here since that day - after the trip I had a lot of follow-up to do (my meetings were very positive and promising!). Plus it's summertime with family get-togethers and home projects and so on and so on.

But things have leveled out and as often happens in August, I am gearing up for the Fall with a great amount of energy and anticipation! In the midst of all the activities, we have continued to make progress with decorating the Woodland Cottage, and I wanted to share one of those decorating projects with you today. This is our Cottage Coffee Bar...

(click any image to enlarge)

This is located on a small wall that is just past our foyer on the way to the kitchen - it is open to the living room and dining room as well. I got this wonderful black and white enamel-topped cabinet from my Aunt - it belonged to my Grandmother and was in her kitchen for many decades. I have very fond memories of it from childhood...

I knew I wanted the cabinet to anchor this little nook, but I didn't want this space to become just another spot to put collectibles or knick knacks - I wanted it to be functional (and adorable of course) in some way. One day it hit me - how about a coffee bar? We love coffee, we love to serve coffee to our guests - how about we make a central place where we and our guests can easily get coffee any time...? So, the next step was to go to Pinterest (of course) for some coffee station inspiration. I ended up creating a pinboard called "All Things Coffee" where I pinned all the cool coffee goodies I found. Then I began to look through all my stash and pulled together what I had in addition to the cabinet...


This was a start, but I wanted height and color and much more coffee cottage-cuteness (but for little or no $$) so I had to get creative...  


I had used these 1 x 6 boards to make valance shelves at our mobile home - since I didn't need those anymore, I took one that was already painted, and had my hubby cut a piece of scrap beadboard to fit under it and we added side trim boards and scolly iron shelf brackets that we had laying around and combined it all into this shelf structure to go on top of the shelf I already had up.


I was pretty sure I wanted to incorporate a chalkboard into the design, so I went to my stash of garage sale frames and found what I hoped would be the perfect candidate - a nice oval frame without the glass - it just had a print glued to a piece of masonite - great for holding chalkboard paint...


I just had to make sure it would fit...and it did!


So we combined the existing shelf, a few coffee collectibles I had...


...like these vintage cups, my mom and dad's old coffee pot, and this coffee grinder lamp that we used to have in our shop space...


...moved things around a bit, added more coffee collectibles I had here and there...and painted the oval frame and picture with heirloom white spray paint for the frame and chalkboard spray paint for the picture. Then I used acrylic paints to paint the lettering ("Anytime is Coffetime") and the coffee cup...


I am really pleased with how it all came out. The shelf unit looks like one unified piece and works well with the oval chalkboard and collectibles. I also like the way the hanging coffee can storage worked out - I just took the paper wrapping off two small coffee cans I had, spray-painted them black, use a tin punch to punch two holes, then threaded black and white gingham ribbon through the holes to make a hanger...then I hung them on the shelf pegs - easy-peasy...


The cans hold sweetener and hot chocolate packages now, and when I create two more matching ones they will hold little creamer containers and other coffee add ins...


Someday we plan to buy a Keurig single-serve coffee pot to put here and we'll add a bunch of K-cups in a cute container of some type...it will be nice to be able to grab just one cup of coffee at any given time without having to make a whole pot...


This was such a fun, easy, inexpensive, and very gratifying project. We are really looking forward to getting a lot of mileage from this coffee bar for our guests and ourselves!


Thanks for stopping by to check in friends! There are lots of fun things in the works around here, and I can't wait to share them with you! It's shaping up to be a busy, but good, Fall season - I'm really looking forward to it! (especially the cooler temps...please...?!) Take care and be blessed in the sweet fading Summer days - we'll talk again soon!

Wednesday, September 29, 2010

Flea Market Project Previews - Part 2

As a follow-on to yesterday's post, here are a few more photos of finished and in-progress projects for the upcoming Flea Market (Larry's Old Fashioned Trade Days) in Winnie, TX. Above and below, I used antique sewing machine drawers as a container/backdrop for these small Fall arrangements...

I already shared a peek at the little lampshades we decorated, but here are all of them we have so far...

I had fun cutting up this $1 garage sale sweater...

...to cover these little lampshades...

I have several more projects planned for the sweater...I'll post those as I get them going.

Here's a large lampshade I had...I had just enough of this fancy beaded fringe trim in my trim stash to add to the base of the lampshade...


Way back in the day, when I was in junior high, my parents owned a decorative plaster wholesale business. We made cute little plaster pieces from molds and sold them to various shops....well, these veggie wall hangings were just like ones that we made way back then, so I grabbed them at a garage sale a while back, mostly for nostalgia's sake and repainted them....

...but then I decided to go a step further and "upcycle" them into something for the sale, so I coupled them with these little wooden plaques that I had from another garage sale, repainted the plaques black, distressed them, and added a drawer pull onto the larger plaque as a hanging knob. Here is the outcome...

I'm not sure if anyone else will like them or appreciate the kitsch of them, but I thought they turned out pretty cute, and I'll use them in my kitchen if they don't sell...

In Progress:


I usually pick up these English brass wall hangings when I see them, if they're cheap enough, because I've had success painting/antiquing  then reselling them in the past. These are all in progress...

I'm turning this old washboard into a little memo center...

I've already painted the top part with chalkboard paint. Next I'll paint the frame and metal washboard part then antique it. Finally I'm going to make a set of coordinating clothespin magnets to put on the metal part. I think it would be cute in a laundry room or kitchen...
______________________________

That's it for now...thanks for stopping by to see what we've been up to! We still have lots to do, but we are putting a dent in it to be sure. I've been sick with a cold all week and all I've really accomplished so far is taking these photos and a few other things here and there, but I'm finally feeling better and I'm ready to hit it hard again starting tomorrow. I'll take photos of our progress as we go along, and I am planning to document our booth layout planning and other merchandising details to share with others who may be contemplating participating in a flea market or craft sale...

Hope the rest of your week is beautiful and creative and blessed!

I haven't posted any illustration for a while now, so I'll leave you with this thought...


Tuesday, September 28, 2010

Flea Market Project Previews - Part 1

I'm happy to say that Fall weather has finally arrived here in Houston! With the cooler air came a glorious clear blue sky and great light, so I lugged several of my finished projects for our upcoming Flea Market out into the sunlight to take some photos. Here are a few of the highlights...

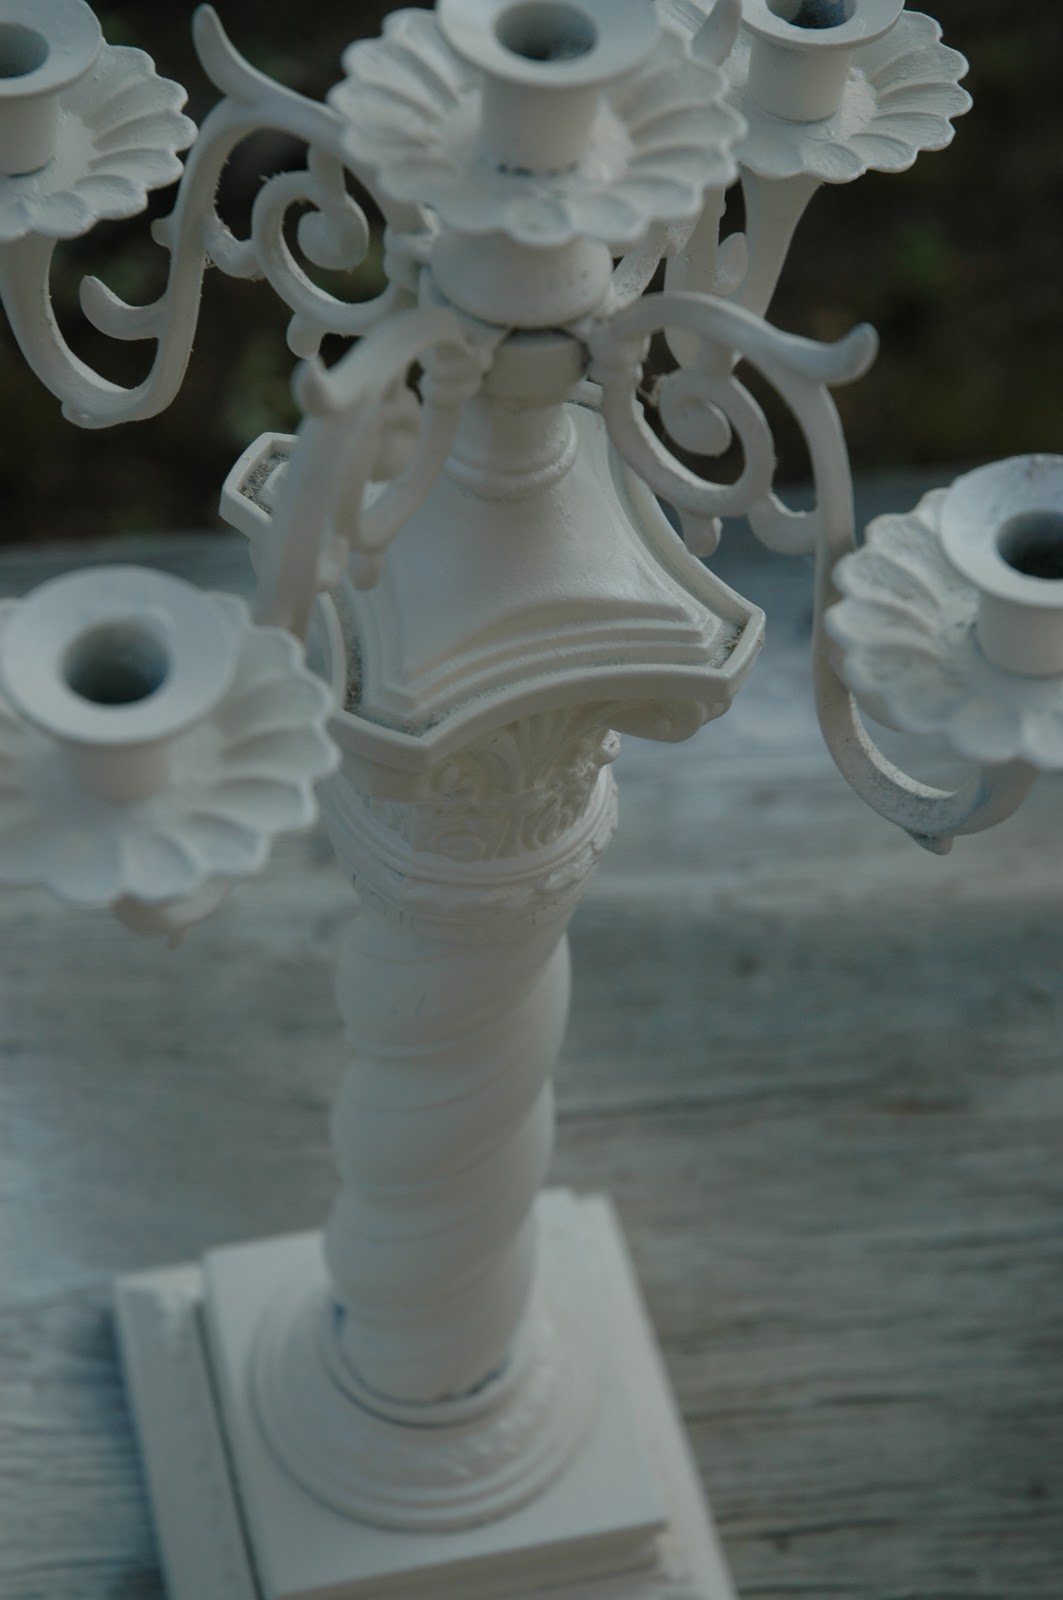
This candelabra started as a wood and brass diamond in the rough. (sorry I don't have a 'before' photo) I started the transformation with a couple of coats of Heirloom White...

...then I glued on these four matching glass punch cups to the candle holders on the four arms and a small coordinating glass globe to the center candle holder...

These cups will hold tea lights...

The hanging crystals finish it off...

I have a number of shabby pink, green and cream accessories left from our shop that we will be selling at the Flea Market, so I made a few more shabby-rose-pastel items to round out the 'collection'. I continued to peruse my stash and found this metal pitcher which I spray painted green then antiqued with brown glaze...afterwards I added a bit of lace and an earring along with pink and cream silk flowers...


I glued these cupcake platters together using matching rose plates and painted rose ceramic candle holders topped with glass cheese server covers...


Here is another container that I painted green...

...then antiqued it, added decorative trim and fall silk flowers and berries...


I had fun making the following wall hangings...my Dad cut bead board to fit into frames we had, he secured them with staples, then I painted them Heirloom White and antiqued them with the same brown glaze I used on the pieces above, then shabbied them by sanding. I then painted these little half terra cotta pots I had, antiqued and sanded them and glued them to the boards. I added the green trim, a bit of floral foam in the half pot, moss and a silk green hydrangea bloom. Finally I glued on the shabby drawer handle to make a little hanger on the board...


Well, after looking at the remaining photos I have to share, I decided to save them for a Part 2 post tomorrow...I took quite a few...

Preparing for the Flea Market has been such fun - I am really enjoying adding many more handmade/upcycled projects than we had at our prior antique space...now I'm just hoping folks will want to take some home with them...we shall see...

 I hope to see you tomorrow for Part 2!